Two ways to print a part label from this PC, each set up once. The first takes two minutes.
A part's page has two buttons, Print and Download .zpl. The second one saves the label as a small file in your Downloads folder, the way any download works. A short script of ours, the label watcher, runs quietly on this PC and prints every label file that lands there. Set it up once, and from then on Download .zpl is the print button: click it, and the label comes out.
print-zpl-watcher.cmd. A black window opens and asks for the printer's IP address. Type
it and press Enter. It says "Installed and running" and where it will start from. Press any key to close it..zpl. Only those; it never
reads, moves or deletes any other file.Downloads\zpl-sts-not-printed with the reason in the log, and nothing goes to the printer.Downloads\zpl-sts-printed with the date and time in front of its name, and one line
goes into Downloads\zpl-sts-printed\print-log.txt saying what was printed, when, and to where. That folder is
yours to empty whenever you like.zpl-sts-not-printed
and the log says why; turn the printer on and download the label again.print-zpl-watcher.ps1 in Notepad: its first forty
lines say everything above in its own words. Read it before you run it; that is good practice with anything
downloaded.print-zpl-watcher.cmd status.print-zpl-watcher.cmd again and give the new address.print-zpl-watcher.cmd uninstall. It stops, and the Startup shortcut and the copy
are removed. The zpl-sts-printed folder and its log are left for you.The portal runs in a data centre. Your printer is behind your own router, where nothing outside can reach it, and that is as it should be. The scanner prints labels because it is on the same network as the printer. So is the PC you are reading this on, which is why the Print button works at all: the browser hands the label to a small Zebra program on this PC, called Zebra Browser Print, and that program sends it to the printer.
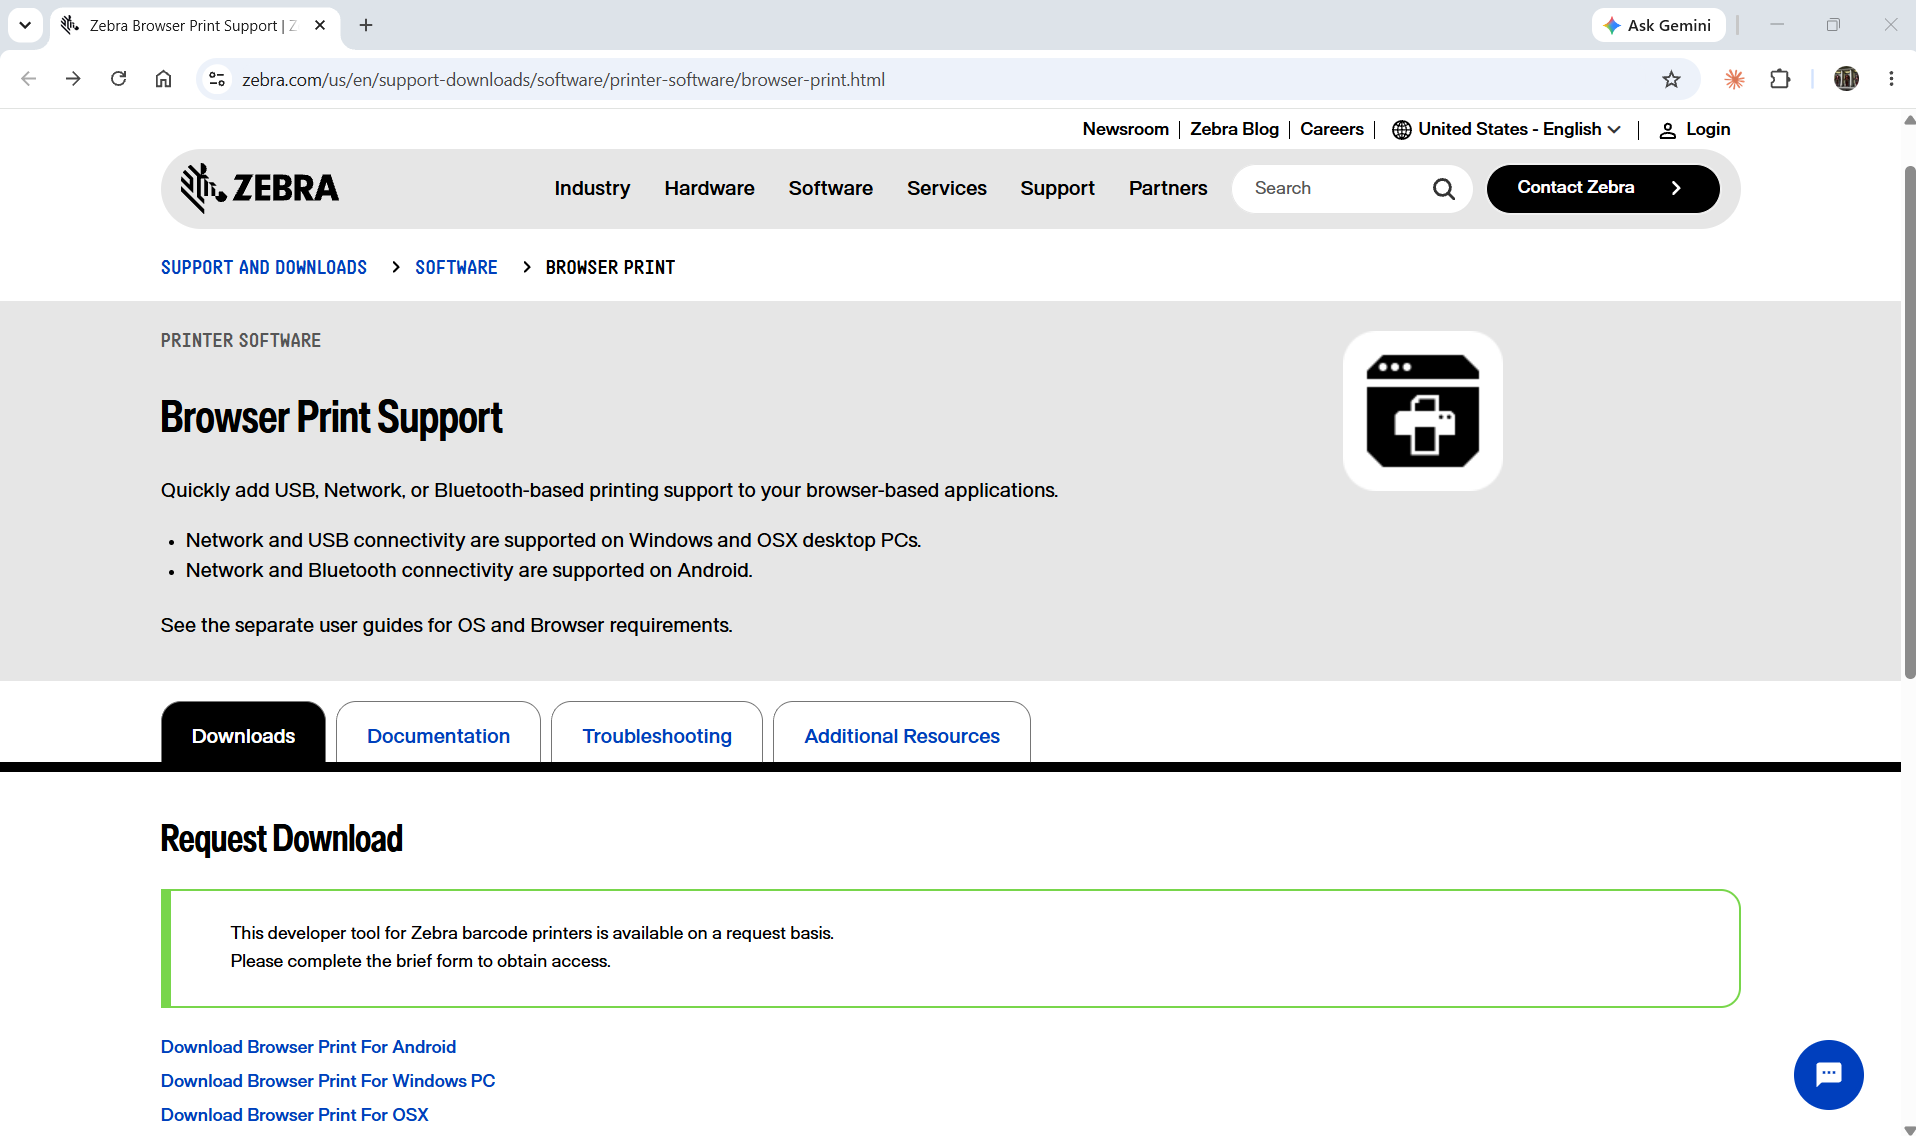
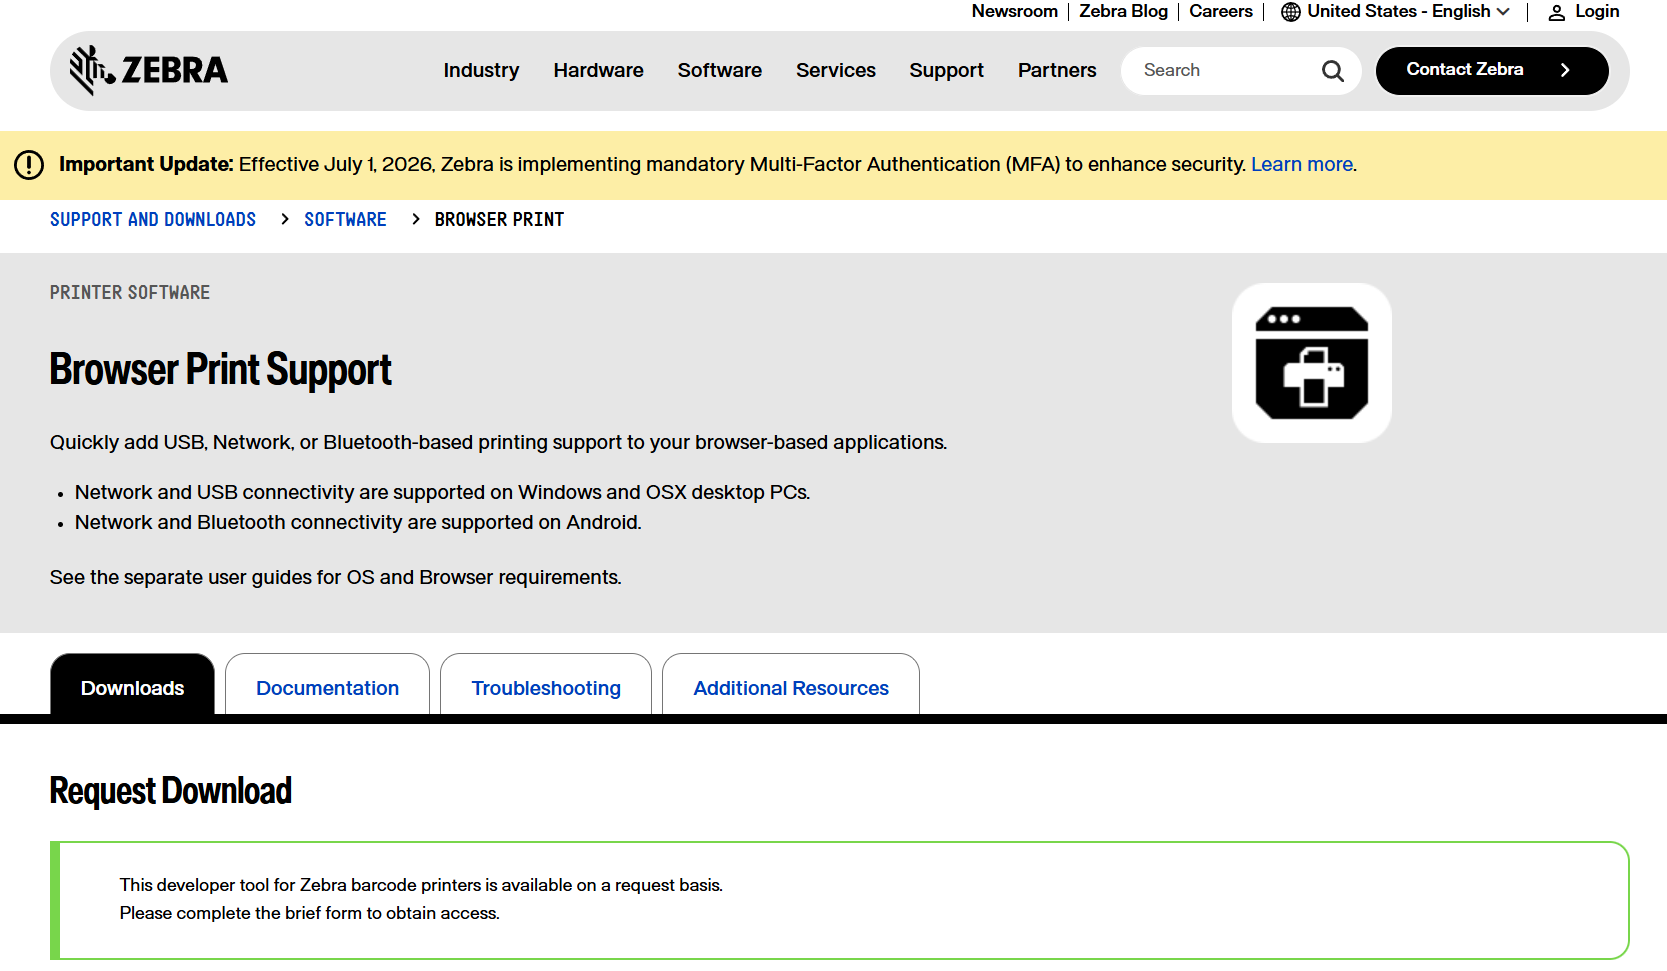
Zebra's page: www.zebra.com › Support & Downloads › Printer Software › Browser Print
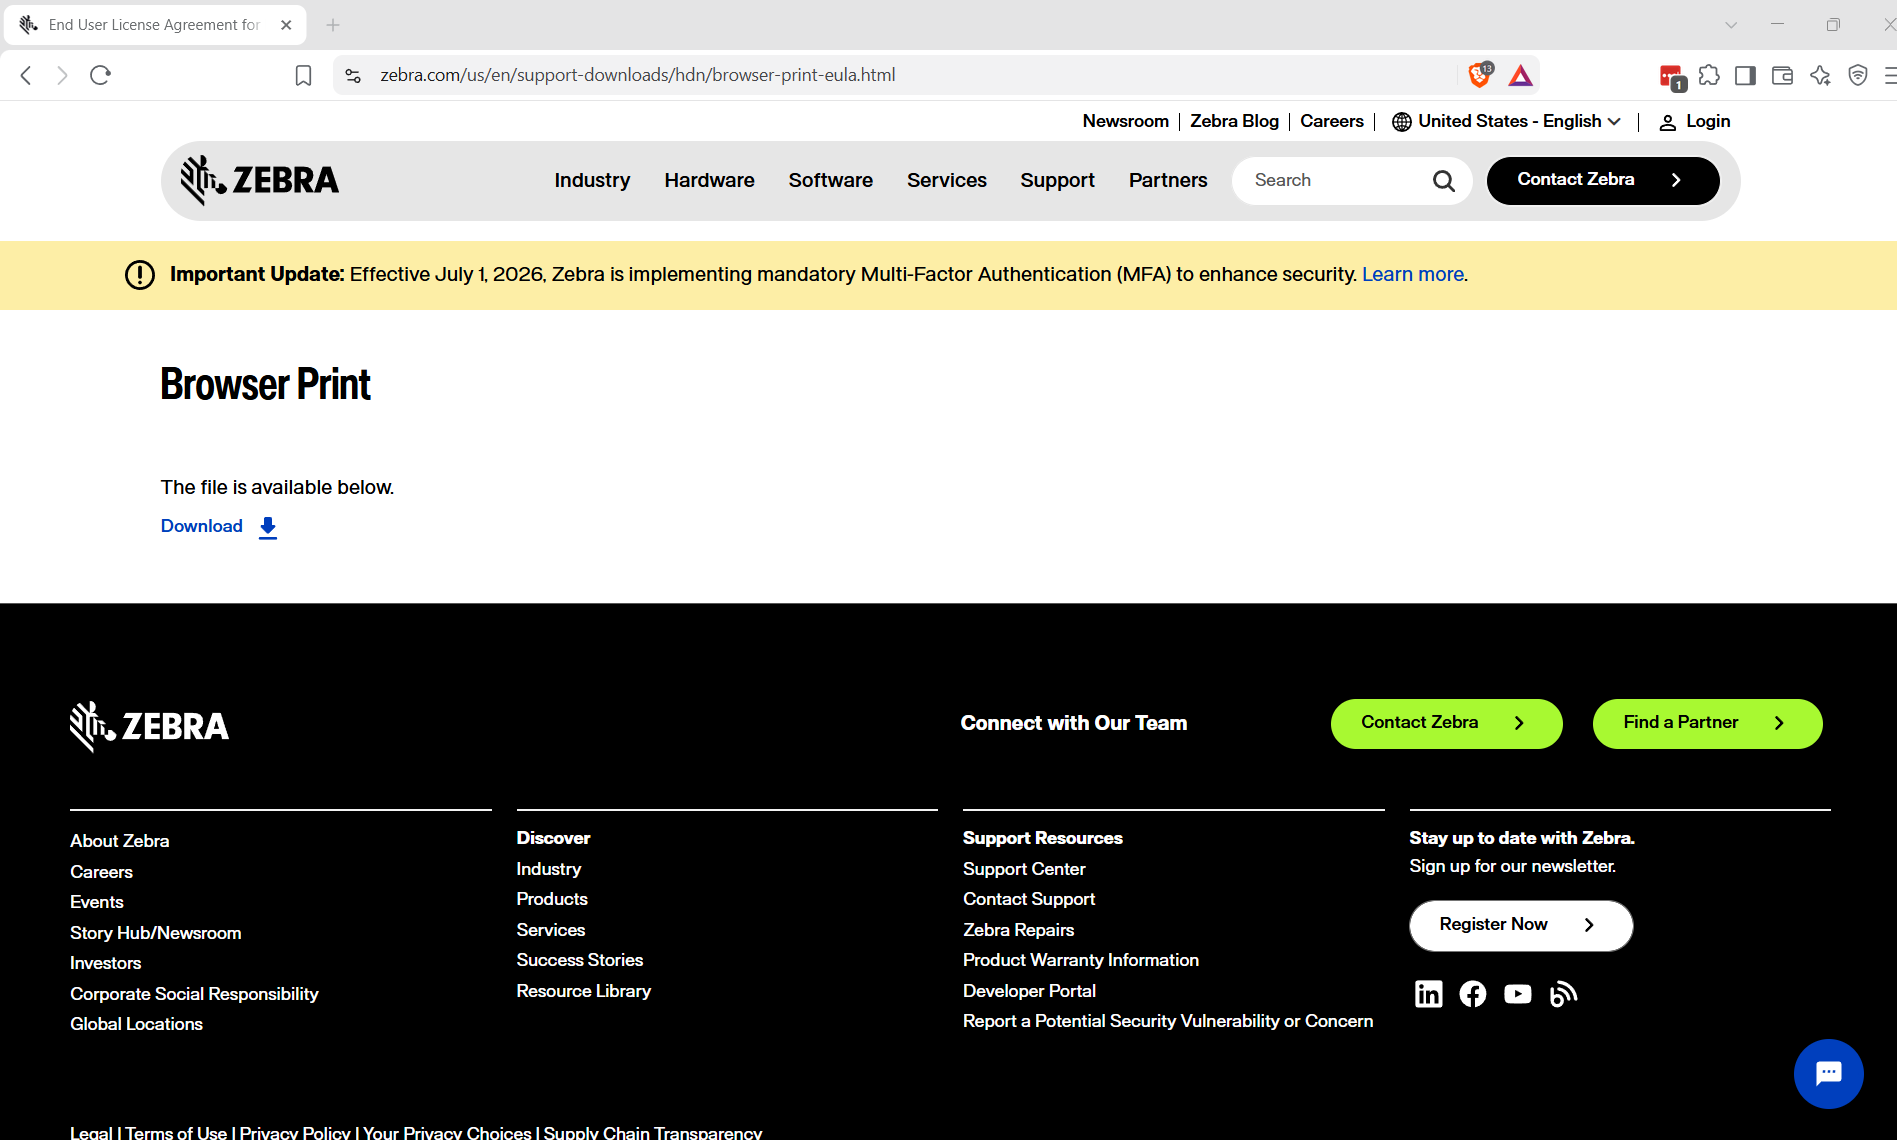
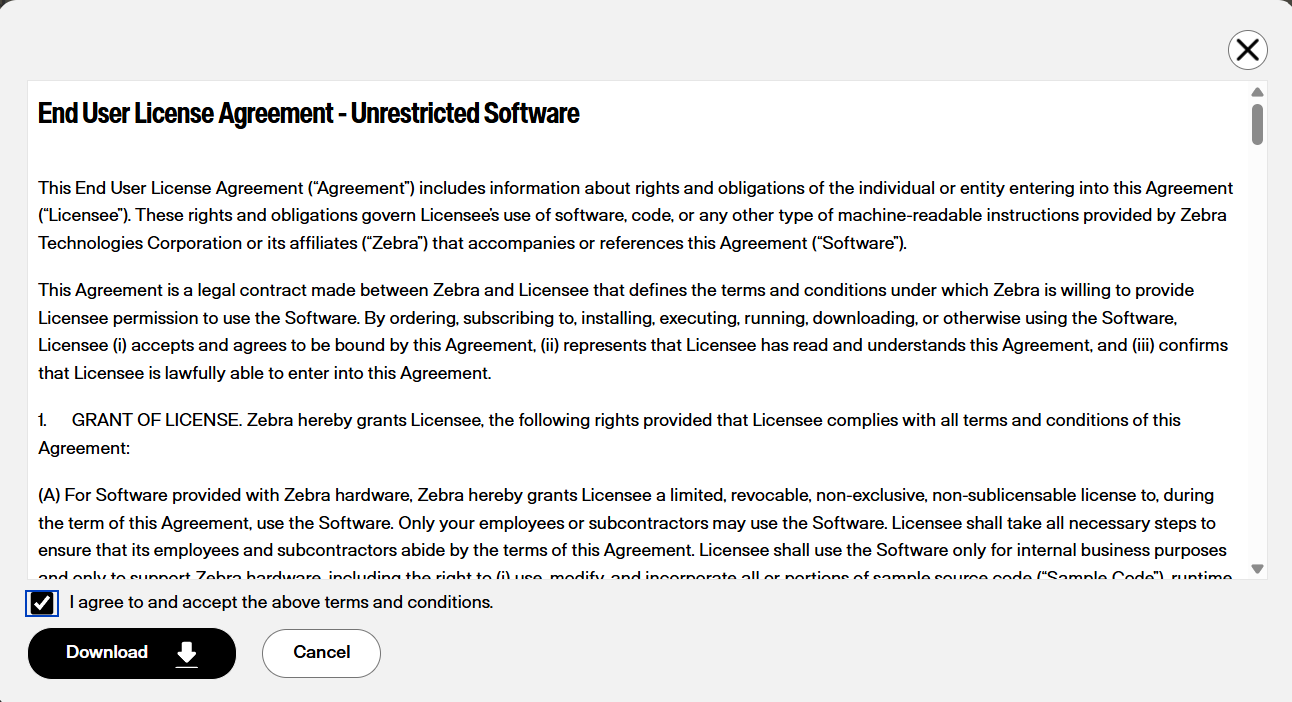
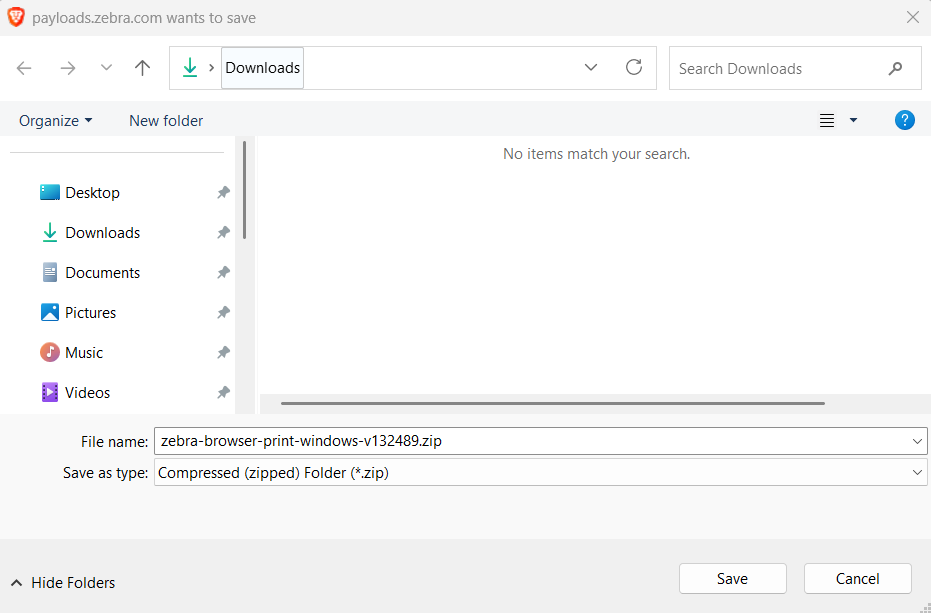
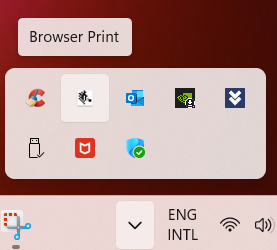
Browser Print refuses any web page it has not been told about. Right-click the tray icon, open Settings, and
under Accepted Hosts add the portal's address, exactly as it appears in your browser's address bar:
app.stocktakesonline.com.au in Australia, or app.stocktakesonline.com in the United
States.
localhost in the list. Browser Print puts it there itself, and needs it.
If it is missing, Browser Print asks to add it back the first time it is used (the picture is under step 5). Say
Yes.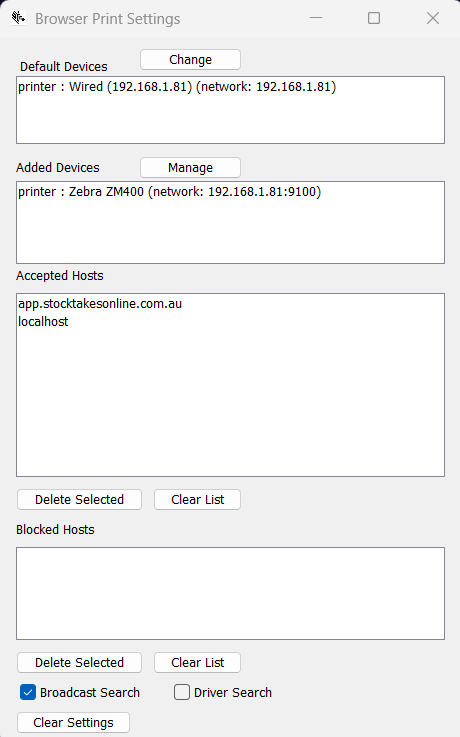
localhost and the portal under
Accepted Hosts, the printer under Default Devices as the search found it, and the same printer under Added Devices
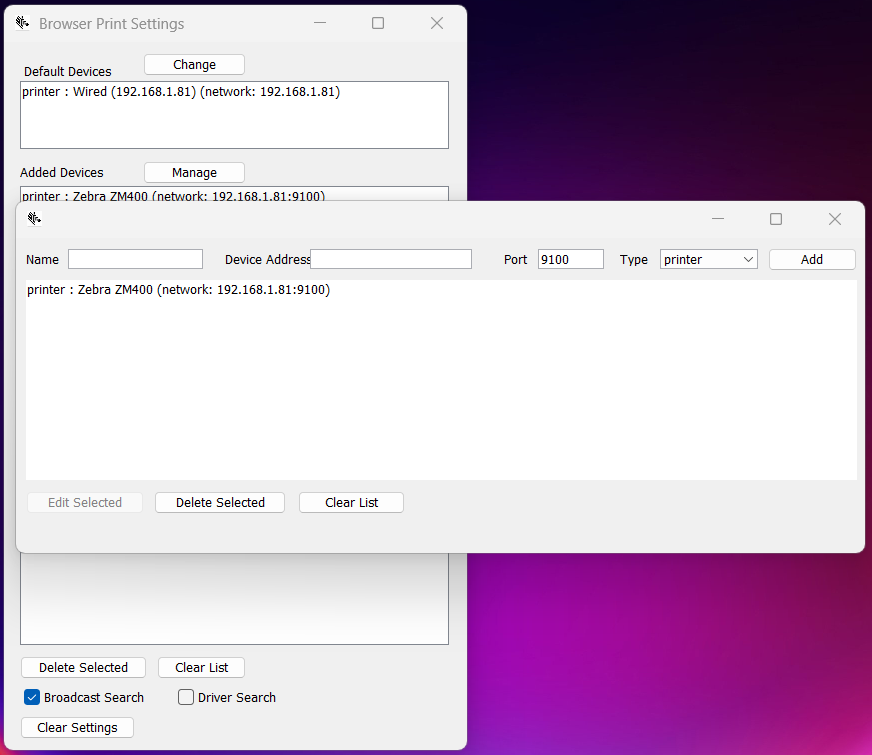
by its address (step 4), Broadcast Search ticked.The portal knows each printer by its IP address, under Printers & Labels › Printers, on port 9100. Browser Print has to know the same printer by the same address. Add it by its address: click Manage beside Added Devices and add the printer by its IP address, port 9100. Do this even when Broadcast Search has already found it and lists it under Default Devices as Wired (its address).
printer : (network: :9100) with no address. Click Manage beside Added Devices, select it and
delete it. A label sent to a blank device goes nowhere and says nothing.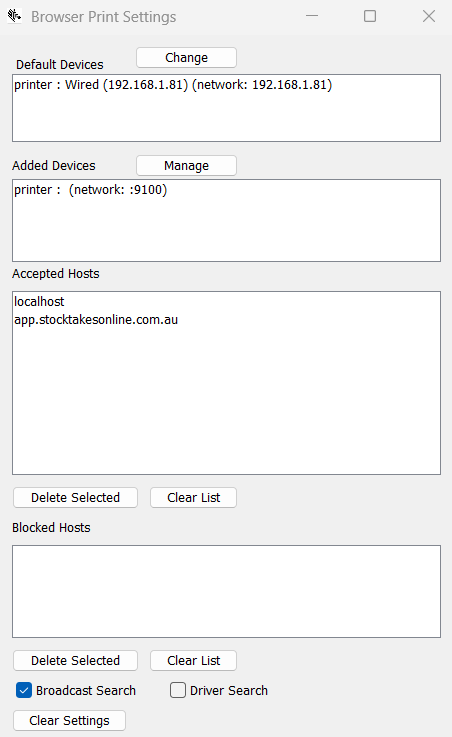

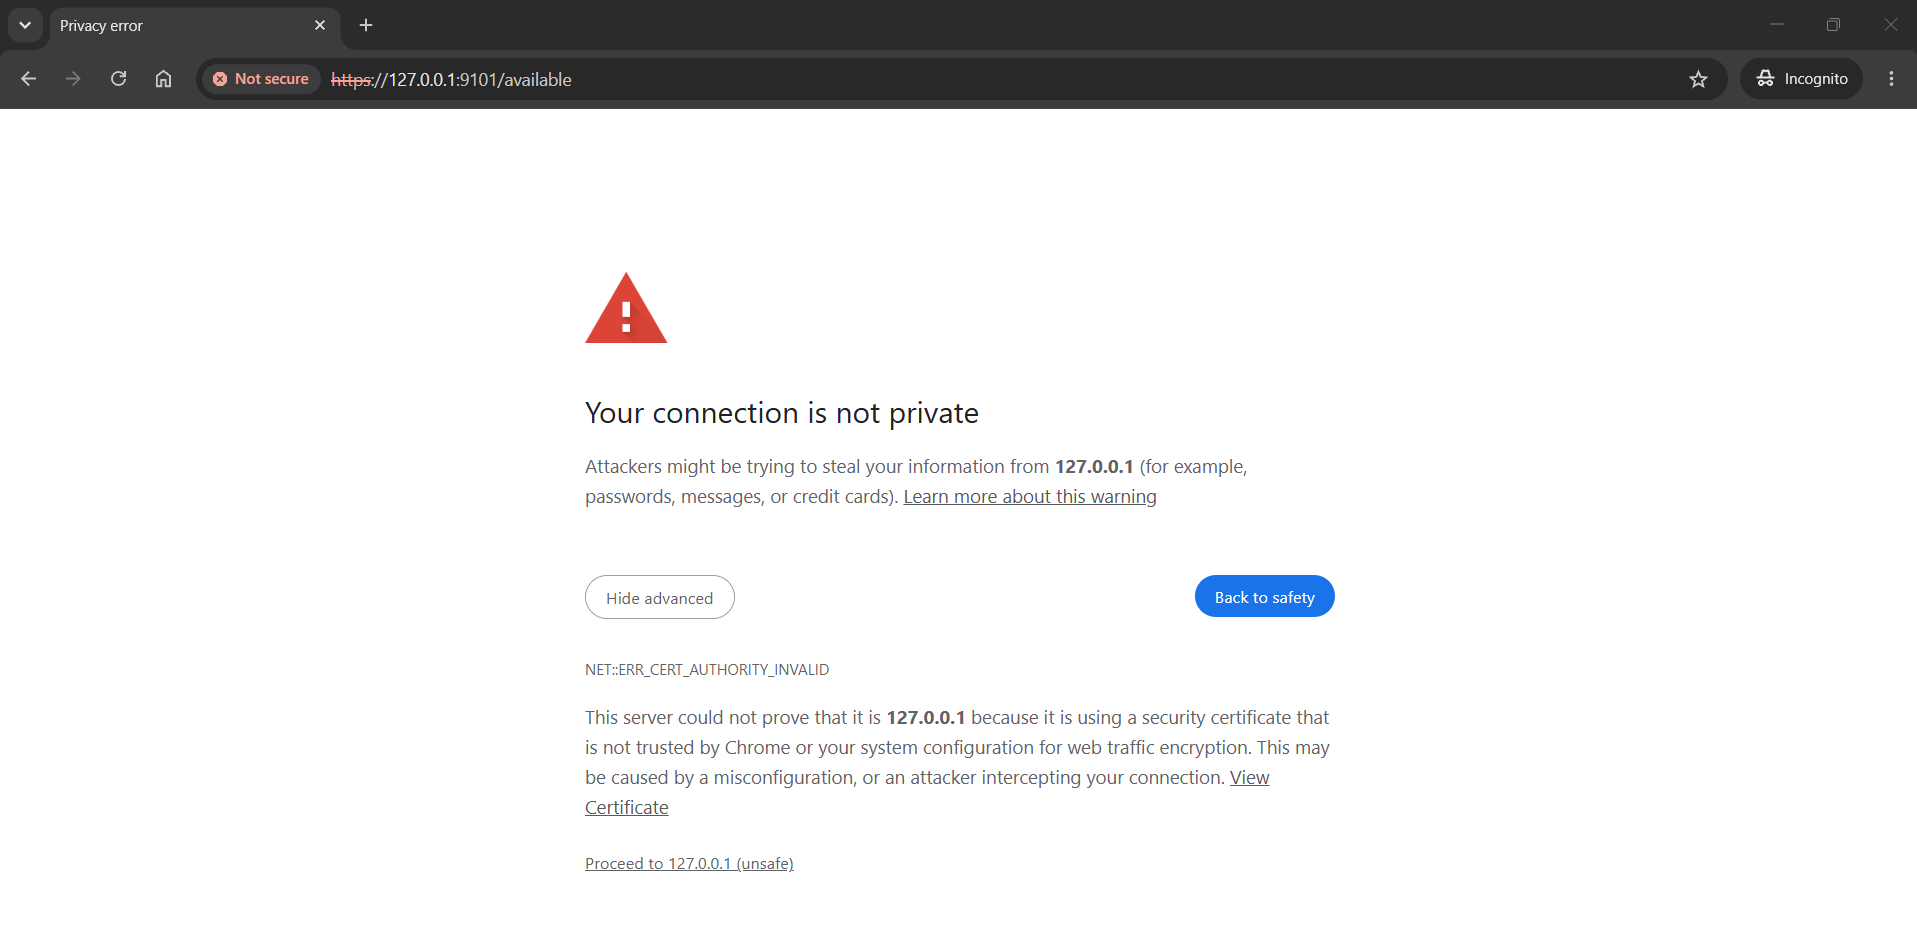
https://127.0.0.1:9101/available in the browser
(step 5 covers the warning it raises). Here the second entry has no name and the address :9100: a blank
device, to be deleted.The portal talks to Browser Print over a secure connection on this PC. Browser Print's certificate is one it made itself, so the first time your browser sees it, it refuses it without saying anything. You tell the browser once that it is fine.
Open https://127.0.0.1:9101/available in the browser. It warns that the connection is not private. Click Advanced, then Proceed to 127.0.0.1. The page that appears is a short piece of text listing the printers Browser Print knows about. That is the whole step, and the browser remembers it.
The browser remembers it only for itself: do this once in each browser the PC will print from.
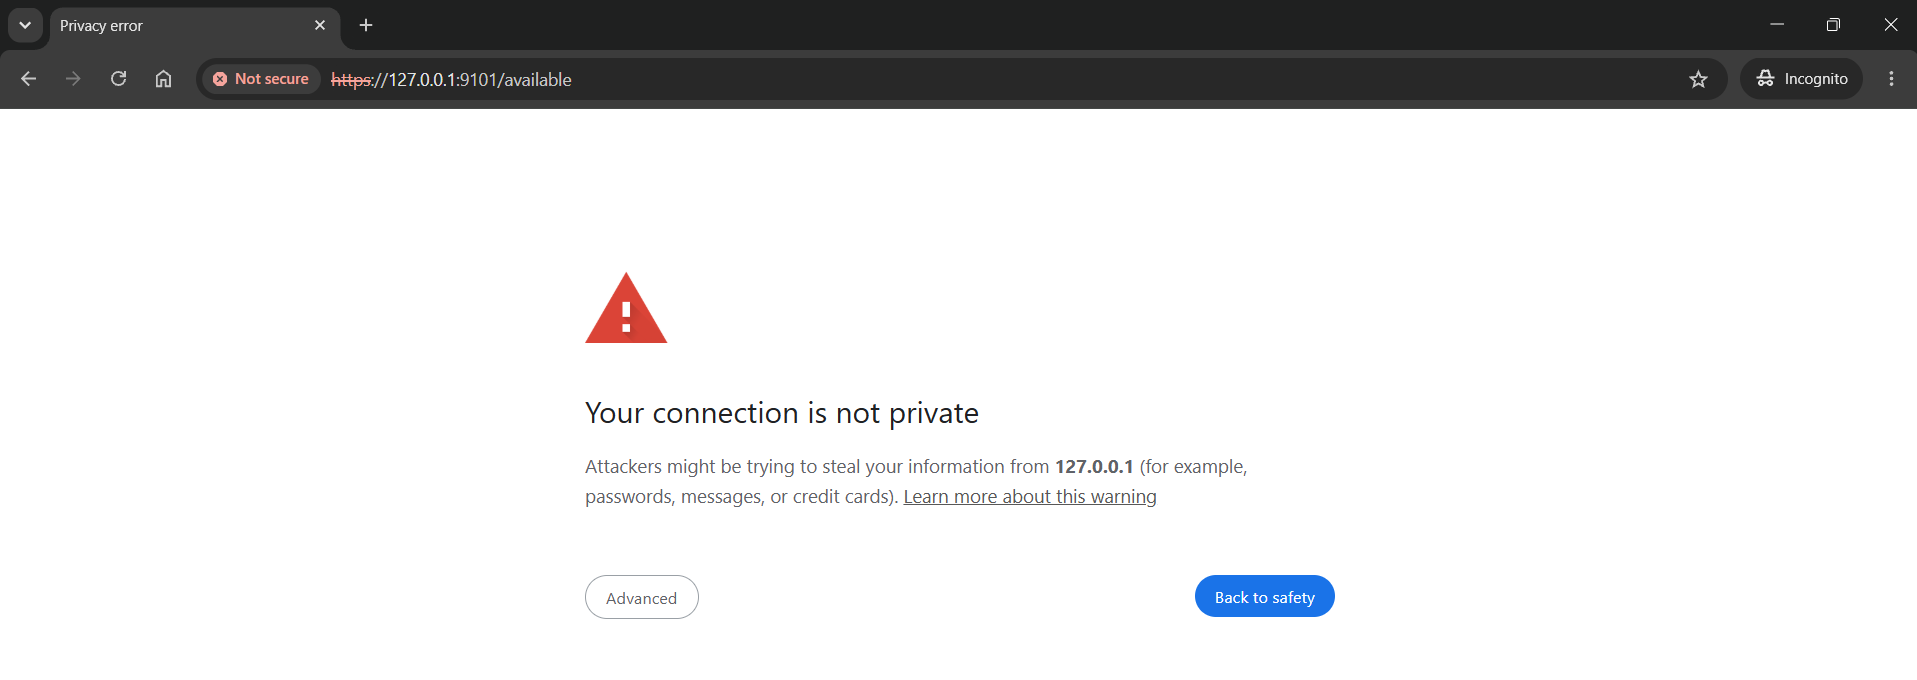
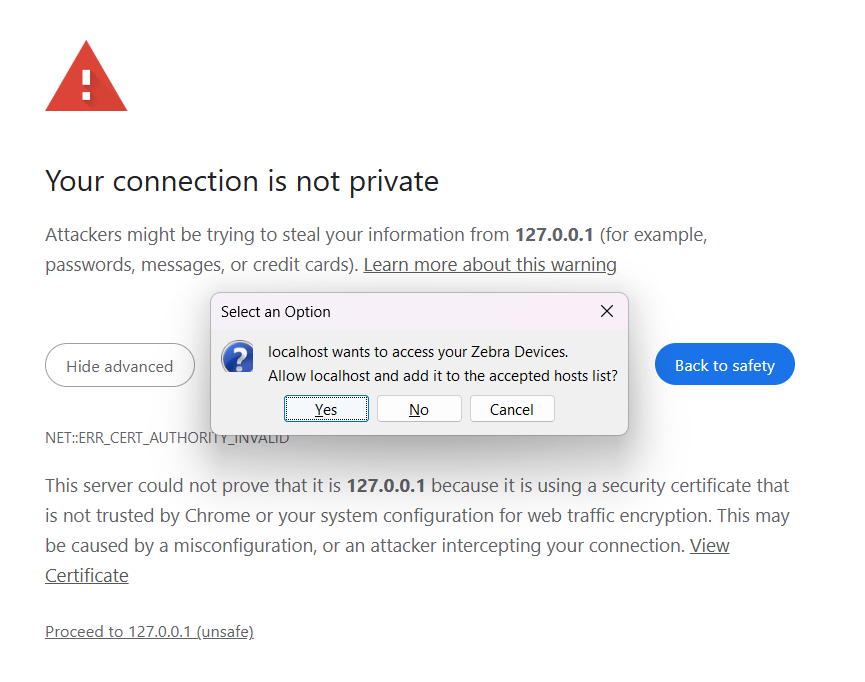
localhost in its Accepted Hosts, clicking Proceed makes it ask
this. Click Yes. It adds localhost to the list itself and never asks again.
The first time you press Print, the browser asks whether the portal may reach other devices on this network. Click Allow. Then press Print again: the first press is what raises the question, and that first label does not get through while the question is open. The page tells you so, and never re-sends a label on its own, because a label sent twice prints twice.
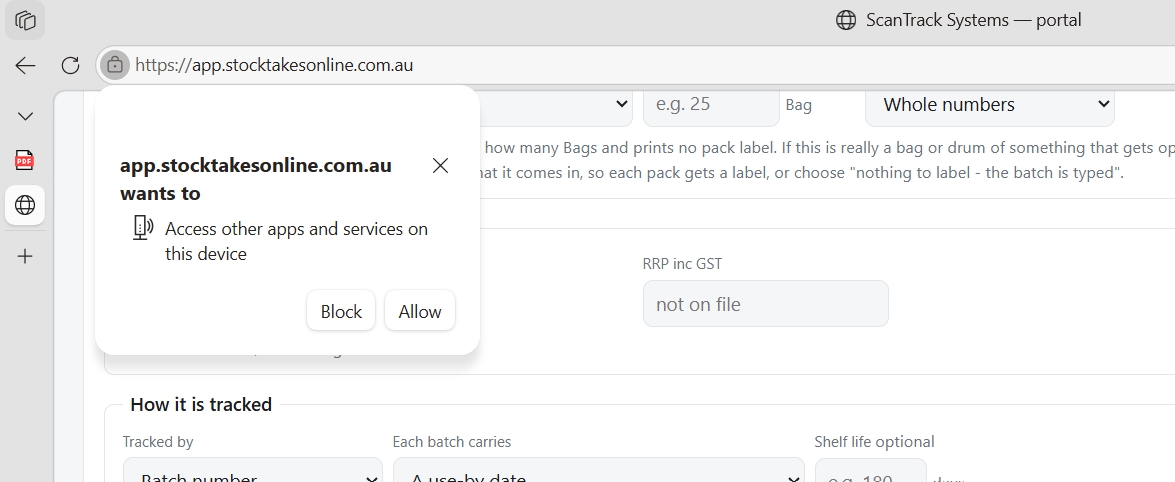
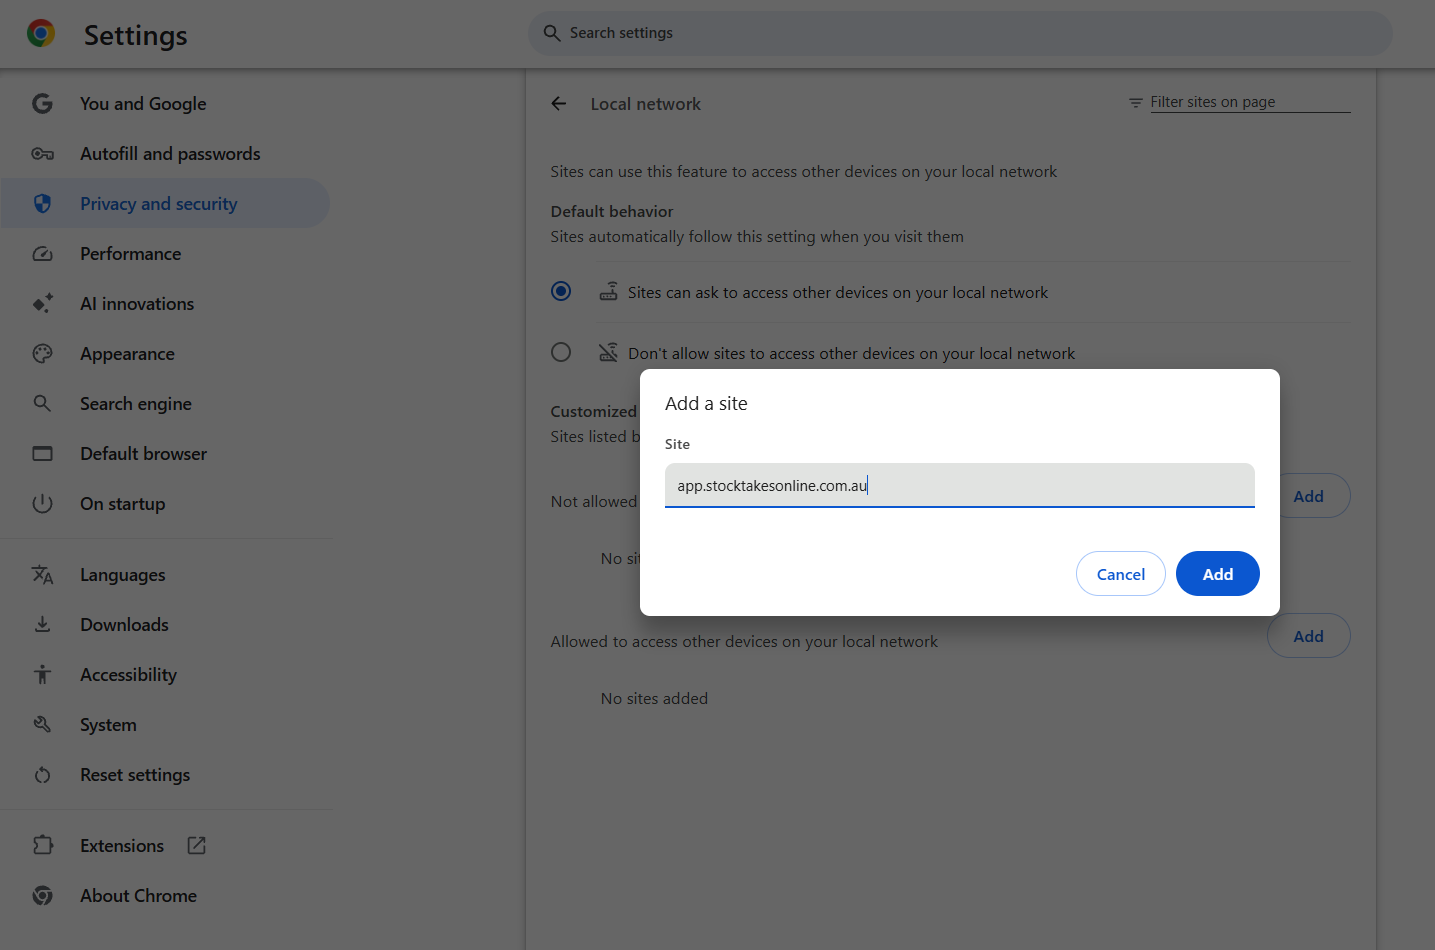
If Block was clicked by mistake, or to allow it ahead of time: in the browser's Settings, under Privacy and security › Site settings › Local network, Add the portal's address under "Allowed to access other devices on your local network".
Parts › open the part › the Print a label card at the bottom: site, printer, copies, Print. The line under the buttons says which printer it went to. The printer is the only place that knows whether it printed, so go and look.
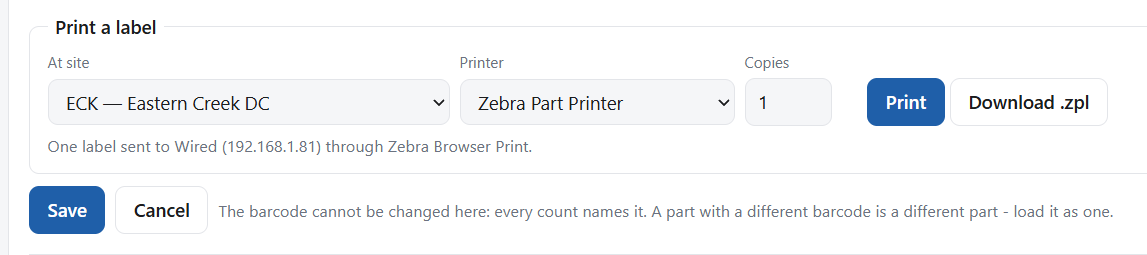
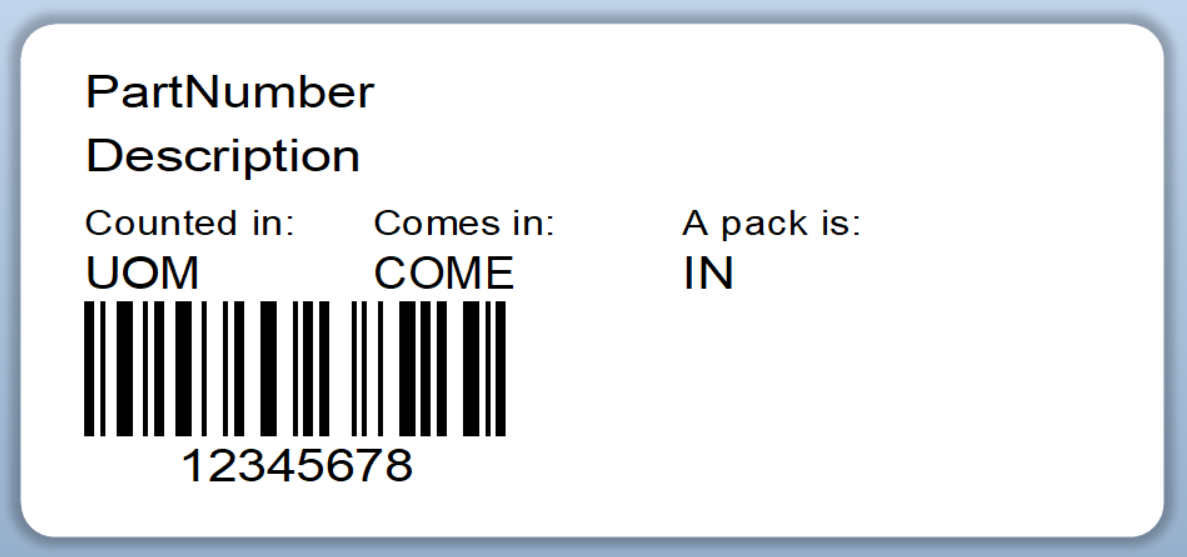
Both buttons, Print and Download .zpl, end at the same printer, so when neither works the printer is the first suspect, not the PC. After a power cut it almost always is.
Either the browser is asking its question (step 6: Allow, then Print again), or Browser Print is not running. Look for the tray icon; if it is missing, start Zebra Browser Print from the Start menu.

Browser Print has no printer at that address to offer. Press Feed on the printer and try again: a printer that has just been switched on can take a moment, and one that Browser Print only found can drop out of its list after a power cycle (above). If it still refuses, step 4: add the printer by its address, port 9100, and check the printer record in the portal says the same address and port 9100, not another number.
Barcode and text land in a different area of the label from where they should. Turn the printer off, wait a few seconds, turn it on again. The label the portal sends is complete in itself, so when the output moves on the stock it is the printer that has moved: a job from another program can leave it with a different label origin until it is restarted. The power cycle puts it back and changes nothing saved in the printer.
If Accepted Hosts or the certificate were changed after this portal tab was opened, reload the tab (Ctrl+F5) and try again.
If you would rather send each label yourself than have the watcher do it: Download .zpl saves the label as a file. A .zpl file is the bytes the printer wants, not a document: opening it in Notepad and printing it goes through a Windows printer driver and prints the label's instructions as words. It has to be sent to the printer as it is. Two ways:
send-zpl.cmd, type the printer's IP address when it asks, and the label prints. To stop it asking, open a
Command Prompt or PowerShell window once and type setx ZPL_PRINTER 192.168.1.81 with your printer's
address in place of that one. It is kept across reboots.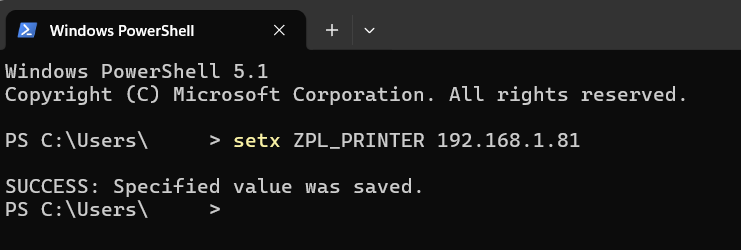
The sender opens a connection to the printer on port 9100 and writes the file to it, nothing more. It changes nothing on the PC. The .cmd exists because Windows will not drop a file onto a PowerShell script directly.